How to Safely & Effectively Brush Your Teeth After Dental Implant Surgery: My Complete Guide
Table of Contents
- Article Outline Overview
- Introduction: Why Your Oral Hygiene Is More Important Than Ever
- Immediate Aftercare: The First 24–72 Hours Post-Surgery
- Brushing During the Early Healing Phase (Week 1–2)
- Long-Term Brushing Techniques for Dental Implants
- Choosing the Right Toothbrush
- The Best Brushing Technique Around Implants
- Picking the Right Toothpaste
- Essential Tools Beyond the Toothbrush
- Flossing With Dental Implants
- Water Flossers: My Secret Weapon
- Interdental & Specialty Brushes
- Antimicrobial Mouth Rinses
- Common Mistakes I Learned to Avoid
- When to Call Your Dentist (Red Flags You Can’t Ignore)
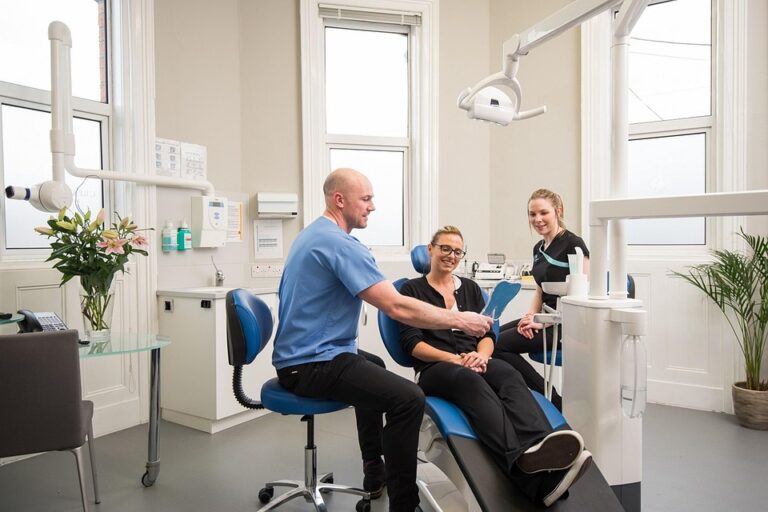
- Don’t Skip Professional Dental Cleanings
- Conclusion: Your Commitment to a Long-Lasting Smile
Article Outline Overview
Before I go into the details, here’s a quick look at what I’ll cover:
- The really important part of brushing after getting a dental implant
- What to do (and what NOT to do) right after your surgery
- How to change your brushing routine week after week
- Which toothbrushes, toothpastes, and other tools work best
- The easy mistakes that can cost you a lot later on
- Signs to look for in case there’s trouble
- Why you can’t skip going to the dentist for cleanings
- My best tips for keeping a strong, happy smile
Introduction: Why Your Oral Hygiene Is More Important Than Ever
When I got my first dental implant, I found out this wasn’t just any dental work—it was a real step up for my health, my looks, and my confidence. But it’s not something you do and then forget about. If you’re reading this, you probably feel the same way, wanting to learn how to care for your new implant so it lasts as long as it can.
Here’s what I learned:
- Dental implants stand in for the root of a lost tooth and really help you feel like you’ve got your real tooth back.
- But, unlike real teeth, the gums and bone around your implant can get infected and sore more easily if you let your cleaning slide.
- Peri-implantitis— which basically means gum disease around an implant—can sneak up and undo all your hard work if you’re not careful.
Long story short, the right brushing habits are super important if you want your implant to stick around. So let’s get into it!
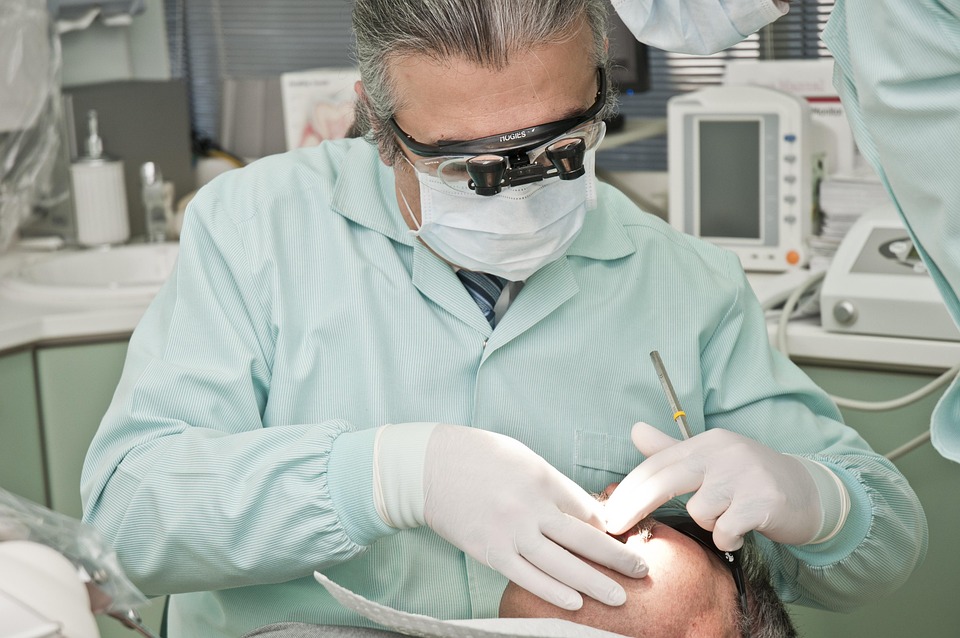
Immediate Aftercare: The First 24–72 Hours Post-Surgery
I’ll be honest—the first day or two after my implant was put in, I was nervous about even opening my mouth, let alone cleaning it. But it’s very important to be extra careful in these early days. This is when your mouth is healing and the implant is getting used to your jawbone (something called osseointegration).
What I Did (And What My Dentist Told Me)
Don’t brush the surgery spot! That was the first thing my dentist told me. Here’s what I did:
- I skipped brushing or touching the spot with the implant, but I still cleaned my other teeth very gently.
- My dentist said I should rinse carefully with a little salt water or a special mouthwash (make sure it doesn’t have alcohol)—but I never swished or spit too hard, because that could mess up the blood clot or stitches.
- I made sure not to put anything sharp or chew on that side of my mouth. No rough brushing, no poking. This was even more important since I had just gotten my new dental crown or abutment, and any mess-up could mean big trouble.
If you’re wondering if you can start brushing the implant spot right away, the answer is no. Let your mouth heal and be patient.
Brushing During the Early Healing Phase (Week 1–2)
By the end of week one, I was still a little scared to get close to the healing area. My gums hurt, and I kept thinking every little bump would set me back. But this is actually the most important time to keep up with cleaning. Let plaque pile up now and you’re asking for pain, swelling, or even infection.
How I Worked My Way Back Into Brushing
Here’s what I did, step by step:
If you ever don’t know what to do, ask your dentist to show you. I did, and it made a huge difference.
Long-Term Brushing Techniques for Dental Implants
After those first couple weeks, I found a brushing routine that worked for me. This is what keeps implants healthy year after year.
Choosing the Right Toothbrush
I tried out a few brushes before finding one that worked best for me:
Soft-Bristled Manual Toothbrush
This became my everyday tool. Soft bristles are easy on your gums but still remove sticky plaque around the edges of the implant. If your gums are sore or swollen, this kind is a safe choice.
Electric Toothbrushes
Honestly, I like these, especially when I don’t have much time. I use the ones with a little round head that moves in circles. Sonic brushes are fine too, just keep the pressure light. Don’t let the brush “dig in”—just let it glide over your teeth and gums. If your dentist says it’s okay, this can help with cleaning.
Specialty Brushes
I had never heard of sulcus brushes or tufted brushes until I tried one. Sulcus brushes have thin bristles to help under the edge of your gums. Tufted brushes are great for cleaning bridges or hard-to-get spots around implants.
Tip: When your brush gets old and splayed, swap it out. I change mine every 3 months—sooner if it looks worn out.
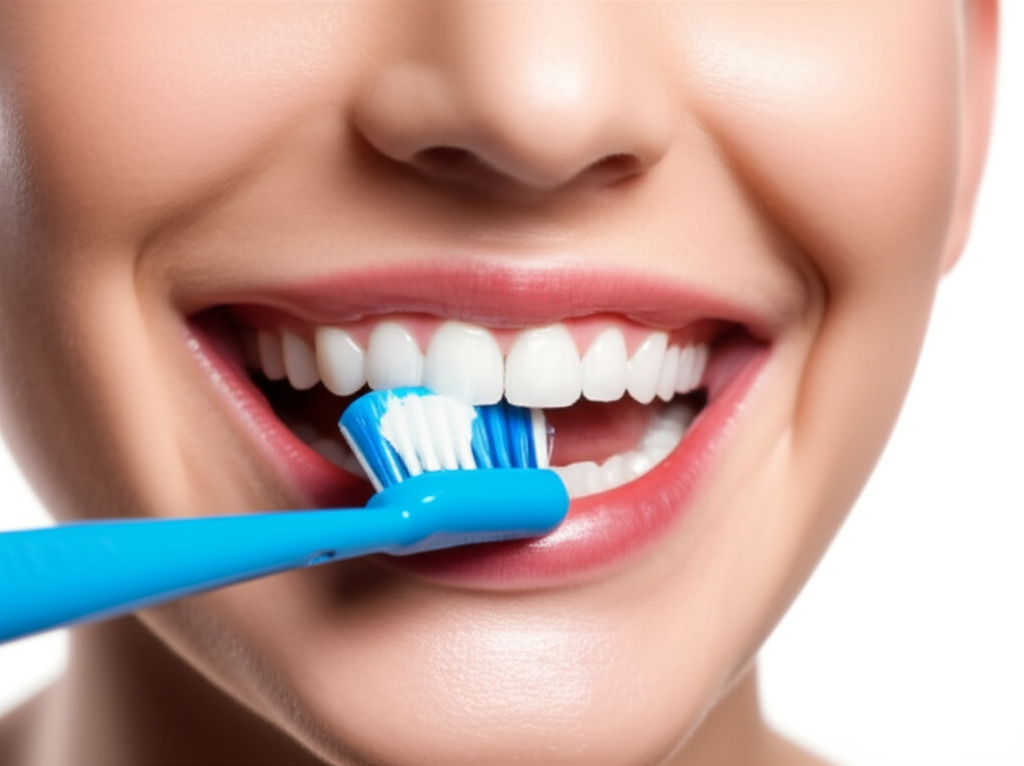
The Best Brushing Technique Around Implants
How you brush really matters with an implant. Here’s what works:
- Tilt your brush at 45 degrees to the gumline, pointing at the spot where the implant touches your gums.
- Gently brush in small circles. Don’t press hard. Let the bristles do the work.
- Brush every surface: The front, sides, and the tight gap between the implant and your real teeth.
- Take your time (at least two minutes, twice a day), making sure you don’t miss anywhere.
- Don’t skip the crown and abutment. Plaque hides here, so make sure you get all the spots you can see, even under any bridges you might have.
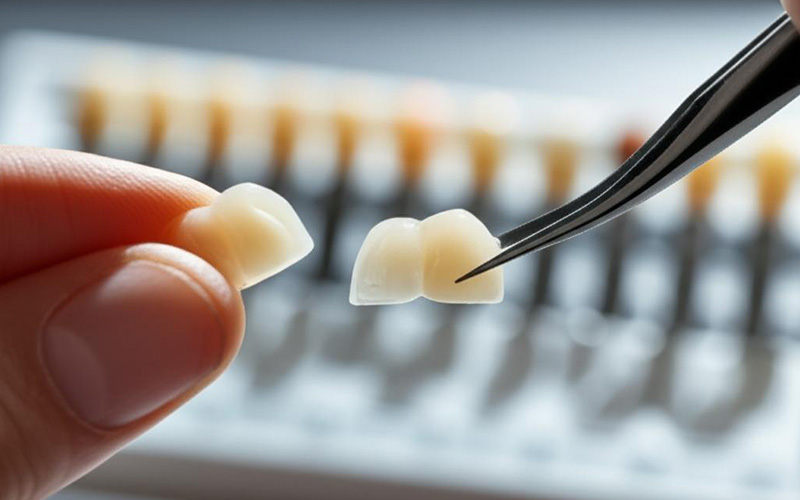
Picking the Right Toothpaste
This is one thing I almost missed, but it’s important. Toothpaste that’s too rough can scratch your implants and crowns. My dentist told me to use a smooth, fluoride toothpaste. Toothpaste for “sensitive teeth” usually works. Stay away from “whitening” pastes or anything made for heavy-duty scrubbing.
Essential Tools Beyond the Toothbrush
I found out brushing is just part of the story. If you’re serious about keeping your implant safe, you’ll want some extra helpers too. Here’s what worked best for me:
Flossing With Dental Implants
Yep—you still have to floss, even if you’ve only got one implant. Here’s how I did it:
- I used special implant floss—these soft, flat threads or “super floss” that fit under the implant crown without getting shredded.
- For bridges or more than one implant stuck together, I learned to use a floss threader—it’s basically a little loop to help you get floss under and around bridges.
- I found that using a C-shape (where you curve the floss around the implant or abutment) got more gunk out than just going up and down.
I was clumsy at first, but after a while, it got easy.
Water Flossers: My Secret Weapon
If you hate regular floss or just want a better clean, try a water flosser. Switching to one was the best thing I did.
Why I love them:
- They shoot out food and bacteria from places brushes or floss can’t reach—especially under bridges or close to your implant.
- Water flossers can change the strength, so I started on the lightest rinse and slowly made it stronger as I healed.
- Studies say they can lower gum bleeding and swelling better than string floss around implants.
Now it’s just part of my nighttime routine.
Interdental & Specialty Brushes
Some places, like between your back teeth or next to big bridges, just can’t be cleaned with regular floss or brushes. That’s where interdental brushes help.
- I bought a pack of tiny cone-shaped brushes in different sizes. My dental hygienist helped me pick the right ones for each space.
- Just give them a gentle twist as you use them and they get into spots nothing else can.
If you have special dentures or big bridges, ask your dental team which brushes work best.
Antimicrobial Mouth Rinses
Once or twice, my dentist gave me a short round of chlorhexidine mouthwash when things were sore or swollen. But for every day, I just use a gentle, alcohol-free mouthwash to keep my breath fresh and avoid burning my gums.
Big Note: Don’t use strong mouthwashes for a long time unless your dentist says so—some can color your implant or make your gums sore.
Common Mistakes I Learned to Avoid
Nobody’s perfect—even people who are crazy about their dental tools. Here are the mistakes I wish I hadn’t made:
- Don’t use hard brushes. They can hurt your gums and scratch the crowns.
- Don’t press too hard. Rushing never helps—soft is better.
- Never skip a day. Plaque comes back fast. Missing even one day sometimes led to gum pain.
- Abrasive stuff is bad. No baking soda, no rough “whitening” pastes.
- Don’t use random tools. I tried a toothpick once—never again. Stick to what your dentist suggests.
- Don’t skip cleanings at the dentist. No matter how good I think I clean, my hygienist always finds spots I missed. Nothing beats a professional cleaning.
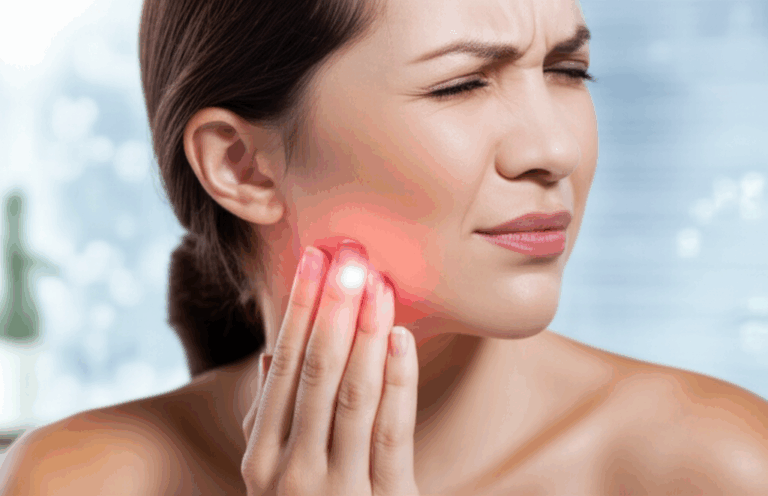
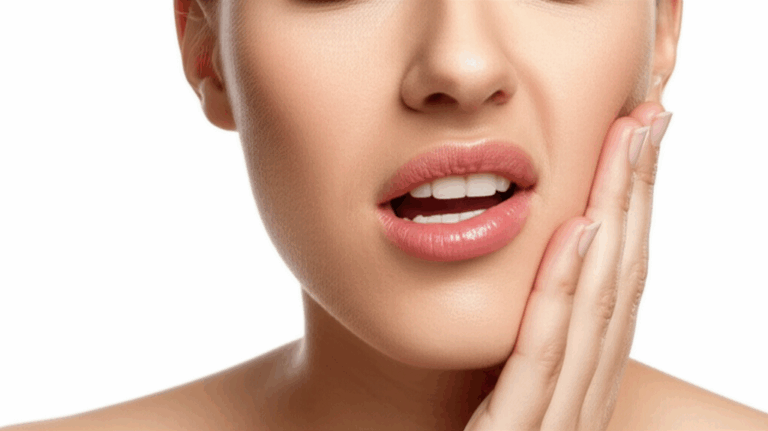
When to Call Your Dentist (Red Flags You Can’t Ignore)
Even if you do everything right, sometimes problems pop up. Watch for these warning signs:
- Pain, throbbing, or soreness that’s not going away
- Bleeding or swollen gums around the implant (way more than a tiny trace after brushing)
- Pus, stuff leaking out, or new bad smells
- The implant or crown feels wobbly
- Your gums are pulling away, or something looks off
If I spot these, I call my dentist ASAP—catching things early is the best way to fix little problems before they become big ones.
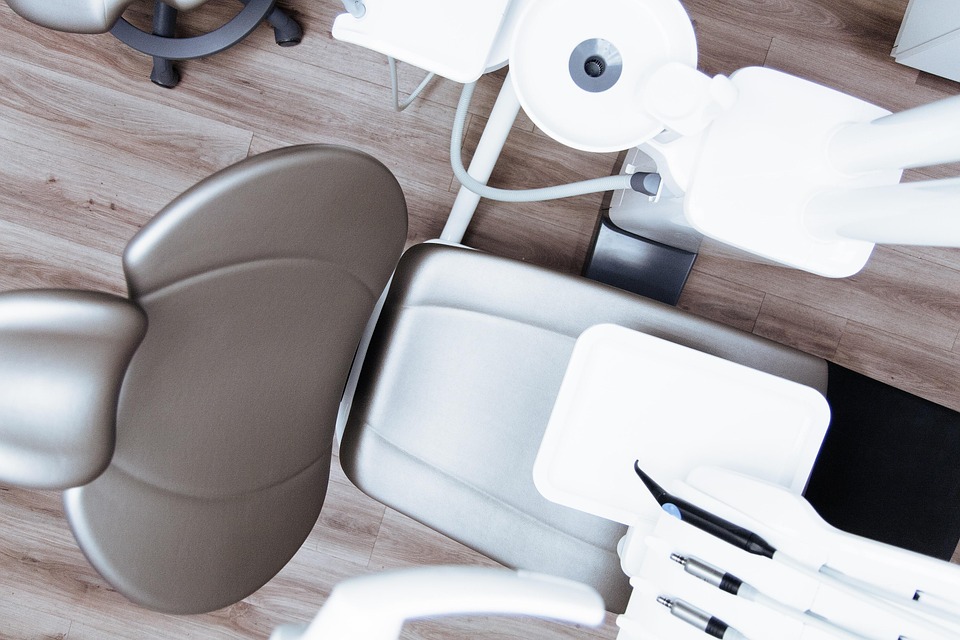
Don’t Skip Professional Dental Cleanings
I can’t say this enough: brushing, flossing, and rinsing at home does most of the job, but there are little spots you just can’t get by yourself.
Here’s what my usual dentist visit is like:
- My dental hygienist uses soft plastic or titanium tools (never steel) so nothing gets scratched.
- They take x-rays to make sure there isn’t anything happening under the gums or bone.
- Every check-up, I get help finding little things I’m missing at home and tips to do better.
Most dental groups say if you go for a cleaning every 6 months, your implant is less likely to fail. For me, it’s a no-brainer.
Conclusion: Your Commitment to a Long-Lasting Smile
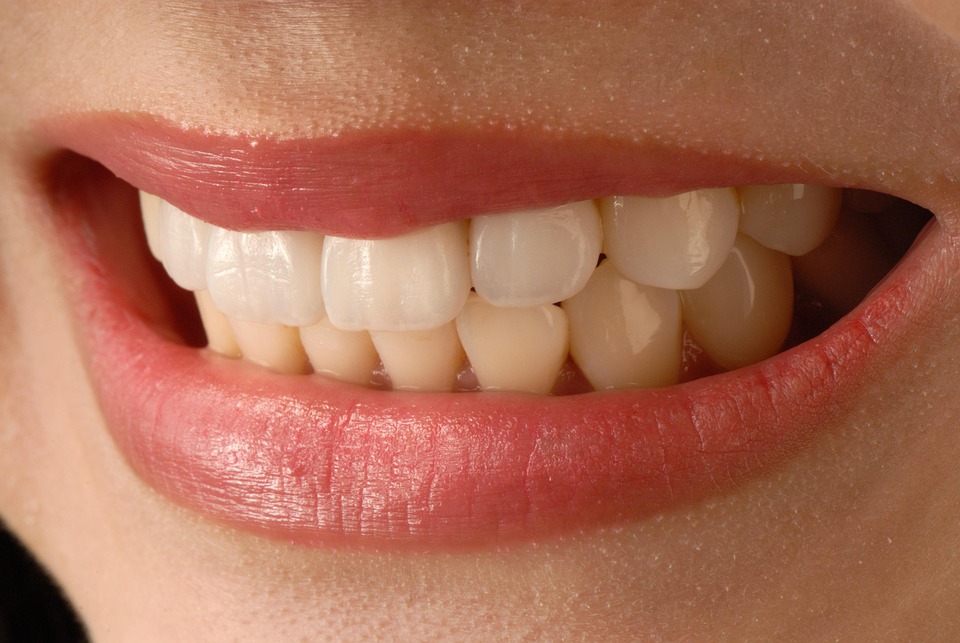
Now that I look back, I’m glad I learned not just how to brush after my dental implant, but why every step is important. Because of that:
- My implant feels and works just like a real tooth.
- I stayed away from infections, pain, and losing the implant.
- I’m not just saving my implant—I’m keeping my whole mouth healthy.
Remember, a dental implant is not something you just forget. The habits I started in the early days still protect my smile. If you’re ever not sure, ask your dentist, listen to your mouth, and just stick with the basics:
- Be gentle but thorough when brushing, two times a day
- Floss or use a water flosser daily
- Use the right toothpaste and tools
- Don’t skip dentist checkups—no excuses
You (and your wallet) will thank you later!
Want to learn more about teeth and dental health? Teeth information and teeth health are two sources that helped me learn how both at-home care and dentist visits will keep you smiling for years.
Follow these steps and pay a little attention—your new dental implant can stay great for a long time. Thanks for letting me share my experiences—I hope they help make things easier for you!