How to Floss Dental Implants: Your Easy Guide for a Long-Lasting, Healthy Smile
Ever stand holding dental floss, staring at your new implant, and wonder—Am I doing this right? Could I mess up my gums, or harm the expensive tooth I just got? If you’re unsure, you’re not alone.
Dental implants can totally upgrade your smile and your mood. But with that nice new tooth comes a big job: keeping it clean every day, so it lasts. If you are wondering, “How do I floss around my dental implant?” or, “Is there a special way?”—don’t worry. Knowing how to care for your implants at home is what helps you keep them for a long time.
Let’s make it simple with an easy plan.
In This Article
- Why Dental Implants Need Special Flossing
- What Makes an Implant Different: Basics and Flossing
- Picking the Right Floss and Tools for Dental Implants
- Step-by-Step: How to Floss a Single Dental Implant
- Flossing for Bridges and Full-Arch Implants
- Flossing Mistakes to Avoid
- Other Ways to Take Care of Your Implant
- When to Call Your Dentist
- Main Points: How to Keep Your New Tooth Safe
- Frequently Asked Questions
Why Dental Implants Need Special Flossing
Let’s be real:
Dental implants aren’t exactly like regular teeth, and your cleaning routine should match.
Why?
Your implant doesn’t get cavities, but the gums and bone around it can still get sore, red, or even infected if you leave food or germs there. The biggest issue is not tooth decay; it’s a sneaky problem called peri-implantitis. This is kind of like gum disease, but it attacks the area around your implant instead of a tooth. It can make you lose the bone that holds your implant secure.
So, what keeps your implant safe? Gentle, careful, regular cleaning—especially flossing or using other tools.
This guide will help you learn about your implant, choose the right floss and brushes, show you easy steps, tell you about things to avoid, and let you know how to get help if something feels off. Whether you have one implant, a bridge, or a full set—everything you need is below.
What Makes an Implant Different: Basics and Flossing
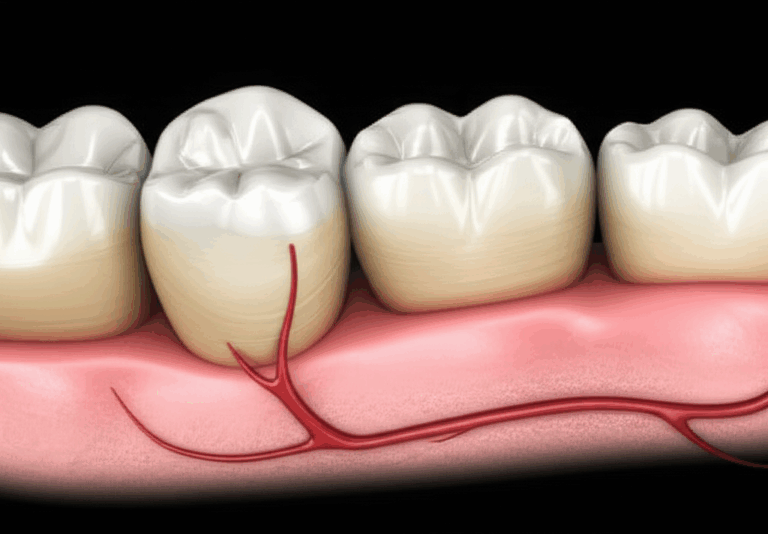
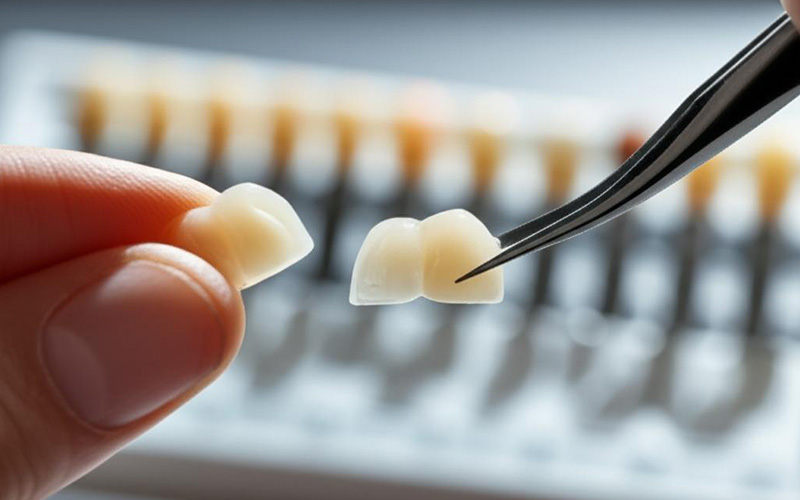
It helps to know what’s in your mouth before you clean it. Think of your implant as a set of three parts:
Here’s the tricky part: Implants don’t have the nerves like your real teeth do. That means they won’t tell you if you’re brushing too hard or flossing the wrong way. Around each implant is a little ring of gum (called the sulcus)—this spot is where germs like to hang out.
Think about sweeping under a heavy couch—dirt hides where you can’t see it. Good flossing lets you clean under the gums and around where the tooth meets your gum.
But be gentle: The usual flossing you do with real teeth—especially snapping the floss down—can hurt the gum, break the seal, or even push germs in. Implants need a soft touch and the right floss.
Picking the Right Floss and Tools for Dental Implants
Not all floss is the same, and using the right one matters a lot. Here are good choices:
1. Special Floss for Implants
- Unwaxed Dental Tape: Wide and flat, it doesn’t break easily near implants.
- Super Floss (or Bridge & Implant Floss): Stiff on one end for threading, has a fat middle part to scrub, and a regular end for finishing. Good for bridges and complicated fake teeth.
- Gore-Tex Floss: Strong, smooth, glides without catching on your implant.
- Implant-Specific Floss Brands: Some dentists or dental labs sell their own floss—ask your dentist for tips.
2. Floss Helpers and Alternatives
- Water Flossers (Oral Irrigators): Brands like Waterpik use a stream of water to push out dirt from under the gums and around implants. Don’t use full power—try low or medium.
- Interdental Brushes: Tiny brushes that fit between teeth. Pick nylon-coated ones so you don’t scratch your implant.
- Soft Picks: Little rubbery toothpicks that fit between tight spaces—great for getting stuck food out.
- Floss Threaders: Help get regular floss under bridges or fake teeth.
Quick Tip:
If you have bridges or a whole row of implants, floss threaders and water flossers are probably the easiest.
Not sure which one to try? Your dental hygienist can show you, and you can also look up digital lab sites for photos or ideas.
Step-by-Step: How to Floss a Single Dental Implant
Let’s get into the steps! Here’s how to clean around one implant:
Step 1: Pick Your Floss
Choose unwaxed tape, Super Floss, or a special implant floss. Try soft picks or little brushes if the space is tight.
Step 2: Thread the Floss
If you can reach, softly slide the floss between your implant and the next tooth. If your crown is tight, you might need a floss threader.
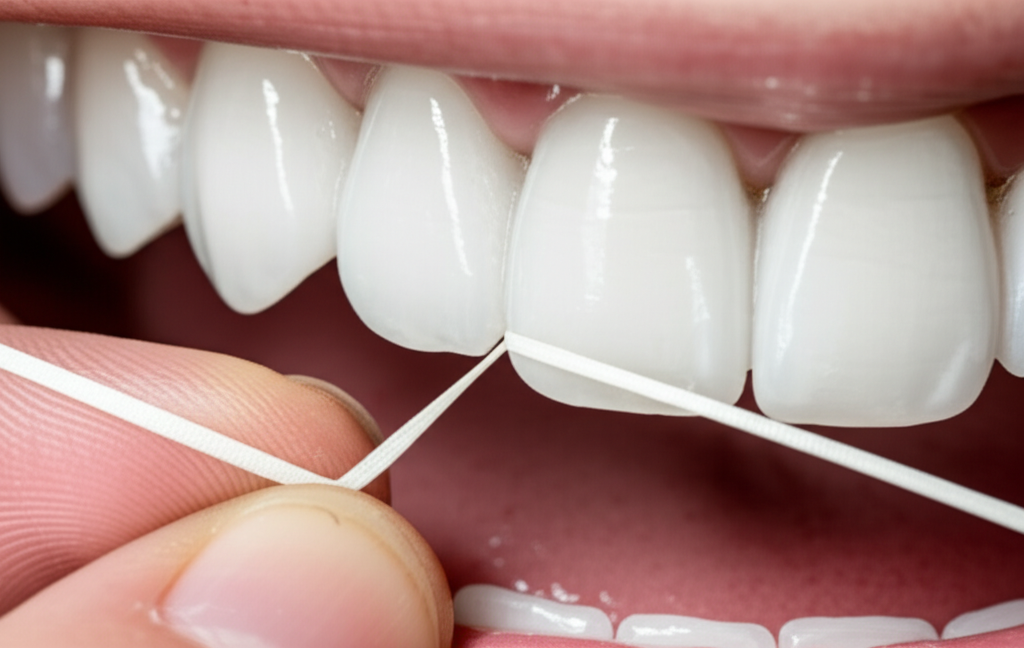
Step 3: Use a Gentle “C” or “Shoe Shine” Motion
Curve the floss around the implant, like a letter C, hugging the tooth.
Slide the floss up and down under the gum but don’t force it.
Step 4: Clean All Sides
Go around the whole implant neck, removing anything stuck along the gum.
Take your time: Slow and steady, like it’s bath time for your new tooth.
Step 5: Rinse and Repeat
After flossing, spit out the bits and rinse with water or mouthwash.
Step 6: Use a Water Flosser?
Point the tip right at where the gum meets your crown. Use low or medium power, and sweep along slowly.
Step 7: Watch for Trouble
If floss breaks, catches, or you see blood or swelling—stop and call your dentist.
The main thing: Clean your implant every day—that’s more important than being perfect!
Flossing for Bridges and Full-Arch Implants
Got an implant bridge or a whole smile made of implants? Flossing is tougher, but you can do it.
The Problem
Bridges and full-arch teeth sit across several implants, leaving a small gap underneath—just right for food and germs to hide.
Ways to Clean:
Option 1: Super Floss or Floss Threader
Option 2: Interdental Brushes
- Choose a brush that fits. Don’t force it.
- Slide it under the bridge and sweep out everything you find.
Option 3: Water Flosser
- Aim the water at the edge where gum meets teeth. Stay there a few seconds to flush out stuck stuff.
Pro Tip:
Unsure if you’re doing it right? Ask your dentist about a plaque-disclosing tablet. It shows you the places you missed by coloring the spots.
Want to see how bridges are made? Check out how a crown and bridge lab makes strong, good-looking teeth for people like you.
Flossing Mistakes to Avoid
Everyone messes up sometimes, but these mistakes can really hurt your implant:
Never snap floss against the gum. It cuts the seal and lets germs get in.
Floss that breaks leaves bits behind, which can cause an infection.
Implants don’t like waiting. Clean them each day.
You need your dentist’s tools to clean what you can’t see or feel.
Strong brushes or sandy toothpaste can scratch your implant, making it harder to clean later.
Not sure you’re flossing right? Ask your hygienist to show you at your next visit.
Other Ways to Take Care of Your Implant
Flossing is only part of the story. Here’s a short care list:
1. Brushing
- Use soft brushes—manual or electric.
- Pick non-abrasive toothpaste (it should say safe-for-implants somewhere).
2. Mouthwash
- Alcohol-free is best. Some dentists may tell you to use special mouthwash.
3. Diet
- Avoid super hard foods (ice, hard nuts) and sticky candies—they can break or loosen your crown.
- Drink water often.
4. No Smoking
- Smoking makes gum infection around implants much more likely.
5. See Your Dentist Regularly
- Get check-ups and professional cleaning twice a year, or when your dentist says.
6. Night Guard if Needed
- If you grind your teeth while sleeping, a night guard from a night guard dental lab can help protect both your implant and real teeth.
When to Call Your Dentist
Even if you do everything right, sometimes you need help. Call the dentist if:
- Your gum is red, swollen, or sore
- Bleeding doesn’t stop
- You see pus or goo near your implant
- The implant or the tooth capped to it feels loose
- You have pain that doesn’t go away
The sooner you get help, the better the chance of saving your implant.
Main Points: How to Keep Your New Tooth Safe
Let’s recap:
- Floss every day with the right kind—don’t use plain, thin, or harsh floss.
- Clean below the gums and in-between teeth, not just on the top.
- Brush softly and use kind toothpaste and gentle brushes.
- Water flossers are good for bridges or hard-to-reach areas.
- See your dentist regularly even if nothing hurts.
- Look out for warning signs—early help makes a big difference.
Dental implants are amazing—they give you back your smile and the joy of eating and laughing normally. With just a little careful cleaning and regular check-ups, your new tooth can last a really long time.
Remember: You don’t have to do all this alone. If you’re ever unsure, ask your dental team to show you the cleaning steps.
Frequently Asked Questions
1. Can I use normal floss for my implants?
Sometimes, but it’s safer to use unwaxed dental tape, Super Floss, or floss made for implants. Thin floss can shred or cut your gum.
2. Is a water flosser okay for implants?
Yes—just use gentle power and aim at the gums, not right at the tooth or the metal.
3. How often should I floss my implant?
Do it every day—like you should for your regular teeth.
4. What if my gums bleed when I floss my implant?
A little bleeding at first can happen, but if it keeps going or gets worse, see your dentist.
5. What happens if I don’t floss my implant?
Germs can cause an infection called peri-implantitis—this is serious and can make you lose the implant.
6. My implant feels loose — what do I do?
Stop flossing hard there and call your dentist fast. Loose implants or crowns must be checked right away.
> Still want to know more about dental implant care? Curious about how dental labs make long-lasting teeth? Read more in our guides about teeth health, the basics of dental care, or get more teeth information.
Your Healthier Smile Starts Here
Taking care of your dental implant doesn’t have to be scary or hard. With a little knowledge and some practice, your daily cleaning will be easy. Remember: you’re not just making a fake tooth look nice—you’re keeping your gums, your wallet, and your whole self healthy.
Here’s to your bright smile—today, tomorrow, and for years!
This article is meant to help you learn. Always talk to your dentist for advice that’s just for you.